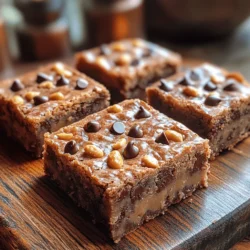
Introduction to Peanut Butter Chocolate Chip Blondies
Blondies have earned a special place in the hearts of dessert enthusiasts everywhere. Often regarded as the sweeter, lighter counterpart to brownies, these delectable treats offer a unique blend of flavors and textures that appeal to a broad audience. While traditional blondies are characterized by their buttery, vanilla essence, the combination of rich peanut butter and chocolate chips elevates this classic treat into something truly extraordinary.
The allure of baking at home extends beyond the satisfaction of creating something from scratch; it’s a way to infuse warmth into special occasions or to indulge in a comforting dessert during quiet evenings at home. With their chewy texture and the irresistible pairing of peanut butter and chocolate, Peanut Butter Chocolate Chip Blondies serve as the perfect treat to bake, share, or savor alone.
In this article, we aim to guide you through the process of creating these delightful blondies with ease. From understanding the origins of blondies to exploring the ingredients that come together in this sweet symphony, you’ll be equipped with everything you need to bake a batch that will impress friends and family alike.
The Joy of Baking Blondies
The history of blondies can be traced back to the early 20th century, where they emerged as a sweet alternative to their more famous chocolate counterpart, the brownie. While brownies are made with cocoa powder or melted chocolate, blondies rely on brown sugar and butter, giving them a rich, caramel-like flavor. This difference in ingredients not only sets them apart in taste but also in texture; blondies are often denser and chewier, making them a delightful choice for those who prefer a less intense chocolate experience.
Over the years, blondies have become a beloved dessert option for many. Their versatility is one of their strongest attributes; bakers can easily experiment with various flavorings and mix-ins. Whether you prefer nuts, dried fruits, or even a swirl of caramel, blondies can adapt to a myriad of tastes and preferences. The Peanut Butter Chocolate Chip Blondies recipe you’re about to explore takes this adaptability to the next level, combining two beloved flavors into one irresistible dessert.
Understanding the Ingredients
To craft the perfect Peanut Butter Chocolate Chip Blondies, it’s essential to understand the role each ingredient plays in creating their signature flavor and texture. Here’s a breakdown of the key components:
– Creamy Peanut Butter: The star ingredient, creamy peanut butter, provides a smooth and rich flavor that permeates the entire blondie. Choosing between creamy and chunky peanut butter can affect the final texture; creamy peanut butter yields a smooth consistency, while chunky peanut butter adds delightful bits of peanuts for an extra crunch. For this recipe, creamy peanut butter is recommended for a velvety finish.
– Unsalted Butter: Using unsalted butter is crucial in baking, as it allows for more precise control over the sweetness and saltiness of the final product. The butter not only adds richness but also contributes to the moist texture of the blondies. When melted and combined with sugars, it creates a luscious base that enhances the overall flavor.
– Sugars: The combination of brown sugar and granulated sugar is what gives blondies their distinctive flavor profile. Brown sugar, which contains molasses, adds moisture and a deeper caramel-like flavor, while granulated sugar offers sweetness and helps achieve a slight crispness on the edges. This combination creates the perfect balance of chewiness and tenderness.
– Eggs: Eggs serve as a binding agent in the blondies, providing structure and stability. They also add moisture and richness, contributing to the overall texture. The number of eggs in the recipe is carefully selected to ensure that the blondies hold together while still remaining soft and chewy.
– Vanilla Extract: A splash of vanilla extract enhances the flavor of the blondies, bringing out the sweetness of the sugars and the nuttiness of the peanut butter. This aromatic ingredient acts as a flavor booster, elevating the overall taste experience.
– Flour, Baking Powder, and Salt: These dry ingredients are fundamental in achieving the right texture and rise. All-purpose flour provides the necessary structure, while baking powder acts as a leavening agent, giving the blondies a light lift. A pinch of salt balances the sweetness and enhances all the flavors, ensuring a well-rounded taste.
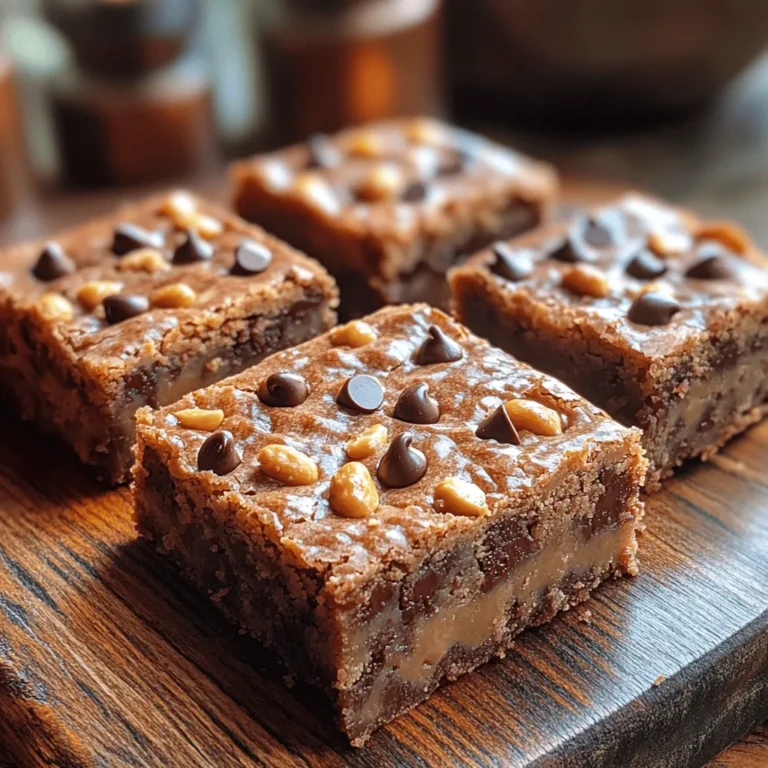
– Chocolate Chips and Peanuts: Adding chocolate chips brings a delightful burst of sweetness to each bite, creating a perfect contrast with the nutty flavor of the peanut butter. Optional chopped peanuts can also be included for those who enjoy added texture and flavor complexity. The combination of chocolate and peanut butter is a classic pairing that never fails to impress.
Step-by-Step Guide to Making Peanut Butter Chocolate Chip Blondies
Now that you have a solid understanding of the ingredients and their roles, it’s time to dive into the actual baking process. Follow this step-by-step guide to create your own batch of Peanut Butter Chocolate Chip Blondies:
1. Preheat the Oven: Start by preheating your oven to 350°F (175°C). This ensures that the blondies bake evenly and achieve the perfect texture.
2. Prepare the Baking Pan: Line an 8×8-inch baking pan with parchment paper, allowing some overhang for easy removal later. You can also lightly grease the pan to prevent sticking.
3. Melt the Butter: In a medium saucepan over low heat, melt the unsalted butter. Once melted, remove it from heat and allow it to cool slightly.
4. Mix the Sugars: In a large mixing bowl, combine the melted butter with both the brown sugar and granulated sugar. Use a whisk or spatula to mix until well combined and smooth.
5. Add Peanut Butter and Eggs: Stir in the creamy peanut butter until fully incorporated. Then, add the eggs one at a time, mixing well after each addition. Finally, pour in the vanilla extract and combine all the wet ingredients until smooth.
6. Combine Dry Ingredients: In a separate bowl, whisk together the all-purpose flour, baking powder, and salt. Gradually add the dry mixture to the wet ingredients, stirring until just combined. Be careful not to overmix, as this can result in a denser blondie.
7. Fold in Chocolate Chips: Gently fold in the chocolate chips (and chopped peanuts, if using) until evenly distributed throughout the batter.
8. Pour into the Baking Pan: Pour the blondie batter into the prepared baking pan and spread it evenly with a spatula.
9. Bake: Place the pan in the preheated oven and bake for 20-25 minutes, or until the edges are golden brown and a toothpick inserted into the center comes out with a few moist crumbs.
10. Cool and Serve: Once baked, remove the pan from the oven and allow the blondies to cool in the pan for about 10 minutes. Lift them out using the parchment overhang and transfer to a wire rack to cool completely before cutting into squares.
With these initial steps, you are well on your way to creating a batch of Peanut Butter Chocolate Chip Blondies that are sure to satisfy your sweet tooth. Stay tuned for the next part of the article, where we will delve into tips for storage, serving suggestions, and variations to further customize your blondies!
Preparing the Oven and Baking Pan
Before diving into the delightful world of baking peanut butter chocolate chip blondies, it’s crucial to prepare your oven and baking pan properly. Preheating your oven to 350°F (175°C) is the first step towards achieving that golden, gooey texture that makes blondies so irresistible. Preheating ensures that the batter starts cooking immediately upon entering the oven, allowing the edges to set while keeping the center soft and chewy.
Next, choose a suitable baking pan. A 9×13 inch pan is ideal for blondies, creating a perfect thickness for that chewy texture. To prevent sticking, line the bottom of the pan with parchment paper and lightly grease the sides. This simple step will make it easy to lift the blondies out once they’re baked, ensuring you can cut them neatly into squares without any hassle.
Mixing the Wet Ingredients
The heart of this recipe starts with mixing the wet ingredients. In a large mixing bowl, combine 1 cup of creamy peanut butter with 1/2 cup of unsalted butter, both at room temperature. The goal here is to achieve a smooth, creamy consistency. Using a hand mixer or a whisk, blend the two ingredients until they are well incorporated and fluffy. This step is essential as it not only combines the flavors but also introduces air into the mixture, which will contribute to the overall texture of the blondies.
Achieving a creamy consistency is vital; it allows the sugars to dissolve more effectively when added later, resulting in a tender blondie. If you prefer a bit of texture, consider using crunchy peanut butter for added flavor and crunch.
Incorporating Eggs and Vanilla
Once your wet ingredients are well mixed, it’s time to add the eggs. Crack in two large eggs, one at a time, and beat them into the mixture thoroughly. This ensures that the eggs are fully integrated, contributing to the structure and moisture of the blondies. Don’t forget to add 1 teaspoon of pure vanilla extract at this stage; it enhances the overall flavor and adds a delightful aroma to your batter.
Beating the eggs thoroughly is crucial, as they help bind the ingredients together. A well-integrated batter will lead to a more uniform texture in the baked blondies, preventing any pockets of raw flour or unevenly distributed ingredients.
Combining Dry Ingredients
With the wet ingredients ready, it’s time to focus on the dry ingredients. In a separate bowl, whisk together 1 ½ cups of all-purpose flour, 1 teaspoon of baking powder, and a pinch of salt. This step is essential for ensuring that the baking powder is evenly distributed throughout the flour, preventing clumps that could lead to uneven rising.
The inclusion of salt is also important; it enhances the sweetness of the blondies and balances the flavors. Whisking the dry ingredients separately allows for an even blend of the leavening agent and salt throughout the flour, ensuring a consistent texture in your finished product.
Merging Wet and Dry Ingredients
Now, it’s time to combine the wet and dry ingredients. Gradually add the flour mixture to the wet ingredients, folding gently with a spatula or wooden spoon. It’s crucial not to over-mix at this stage. Over-mixing can lead to tough blondies, as it develops gluten in the flour, making the final product dense rather than soft and chewy.
Mix just until you no longer see any dry flour. The batter should be thick and slightly lumpy; this is perfectly fine as it indicates that the blondies will have a tender crumb. Remember, the less you work the batter at this stage, the better the texture will be.
Folding in Chocolate Chips
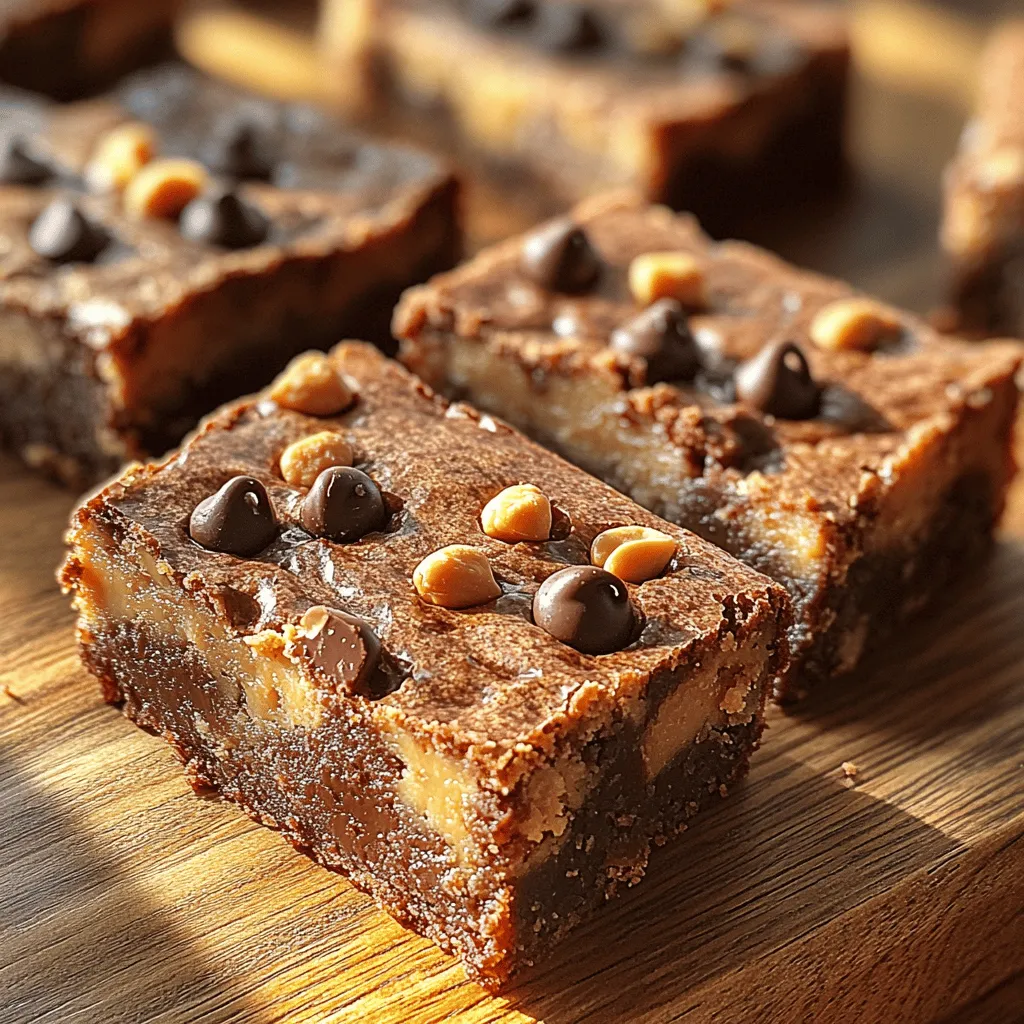
The pièce de résistance of peanut butter chocolate chip blondies is, of course, the chocolate chips. Gently fold in 1 cup of semi-sweet chocolate chips into the batter, ensuring they are evenly distributed throughout. This technique prevents the chocolate chips from sinking to the bottom during baking.
Using a spatula, scoop from the bottom of the bowl and fold over the batter, turning it gently to incorporate the chocolate chips without breaking them apart. This step not only adds sweetness but also creates delightful pockets of melted chocolate in each blondie, elevating the overall flavor profile.
Baking and Cooling
Once your batter is ready, pour it into the prepared baking pan, spreading it evenly with a spatula. Pop it into the preheated oven and bake for 20-25 minutes. Keep an eye on the blondies; they are done when the edges are set and a toothpick inserted into the center comes out with a few moist crumbs.
After baking, it’s essential to let the blondies cool in the pan for about 10-15 minutes. This cooling period allows them to firm up, making them easier to cut. Once slightly cooled, lift the blondies out using the parchment paper and transfer them to a wire rack to cool completely. Cutting them while they are still warm will result in gooey, melty treats, which might be tempting but can fall apart easily.
Serving Suggestions for Peanut Butter Chocolate Chip Blondies
Peanut butter chocolate chip blondies are versatile and can be enjoyed in various ways. Here are some delightful serving suggestions to elevate your blondie experience:
– Warm with Ice Cream: Serve your blondies warm from the oven with a scoop of vanilla ice cream on top. The heat of the blondie will melt the ice cream slightly, creating a deliciously creamy pairing.
– Drizzled with Sauce: For an extra touch of indulgence, drizzle caramel or chocolate sauce over the top. This adds a rich, sweet layer to each bite and enhances the overall flavor.
– With a Beverage: Pair your blondies with a cold glass of milk or a steaming cup of coffee. The combination of flavors will satisfy your sweet tooth and provide a delightful afternoon treat.
Storing and Preserving Blondies
To maintain the freshness of your peanut butter chocolate chip blondies, proper storage is key. Allow the blondies to cool completely before storing them. You can keep them in an airtight container at room temperature for up to 3 days. For longer storage, consider refrigerating them, where they can last for up to a week.
If you want to enjoy them even later, freezing is a great option. Wrap individual blondie squares tightly in plastic wrap or aluminum foil and place them in a freezer-safe container. They can be frozen for up to 3 months. When you’re ready to enjoy them, simply thaw at room temperature or warm them in the microwave for a few seconds for that fresh-baked taste.
Conclusion
Creating and savoring peanut butter chocolate chip blondies is a delightful experience that brings joy to both bakers and eaters alike. This simple recipe allows you to embrace your creativity in the kitchen while delivering a sweet treat that is sure to impress. Whether you enjoy them warm with ice cream, drizzled with chocolate sauce, or with a cup of milk, these blondies are a treat everyone will love.
Baking at home not only fills your kitchen with wonderful aromas but also offers a sense of accomplishment and satisfaction when sharing your creations with family and friends. So gather your ingredients, preheat that oven, and prepare to indulge in the sweet, nutty bliss of homemade peanut butter chocolate chip blondies. Enjoy your baking adventure and the delicious results that await!